BadgeOS Zapier Integration addon allows you to integrate the BadgeOS interactions with thousands of third-party web services, including Google Sheets, Slack, Mailchimp, Twitter, Zendesk, Dropbox, Instagram, and many more. In this article, we’ll walk you through the steps you need to follow to create your own BadgeOS interactions using this add-on, from installation to interaction configuration.
Note: You will need to have a Zapier premium account to get access to the webhooks required by the BadgeOS Zapier Integration addon. If you sign up to a free Zapier account you will only get a limited 14-day trial of premium features.
Table Of Contents
- Install the BadgeOS Zapier Integration Add-on
- Configure Zapier Integration Settings
- Send Data To Zapier
- Configure Triggers For Automations
- Configure BadgeOS Actions For Automations
1. Install the BadgeOS Zapier Integration Add-on
- Install and Activate the BadgeOS plugin.
- Install and Activate the BadgeOS Zapier Integration Addon.
- Navigate to BadgeOS > Settings. There will be a tab of Zapier on the BadgeOS Settings page.
- Navigate to Zapier and register.
2. Configure Zapier Integration Settings
Navigate to BadgeOS > Settings and select the Zapier tab. Here you will find the general settings for the Addon.
On this page, you will find settings for the following BadgeOS events that can be connected to Zapier:
- Achievements
- Points Awards
- Points Deduct
- Ranks
All of them have the same configuration fields, listed below:
- Webhook URL: Here you can add Zapier’s webhook URL. On the Send data to Zapier, you will find instructions about how to get this URL.
- Request Method: In this field you can determine the Request method used to send the request. If you are unsure about the right method, set it to POST.
- Data format to send Zapier: Here you can determine the format that will be used to send data Zapier. If you are unsure about the correct format, set it to JSON encoded.
3. Sending data to Zapier:
Before getting started, you should familiarize yourself with some basic Zapier concepts. Zapier allows you to connect different services between each other to set up automations or workflows called “zaps”. A Zap consists of 2 parts:
- Trigger: On Zapier, this is known as “When this happens..”.
- Action: On Zapier, this is known as “Do this..”.
You can associate different triggers and actions to configure endless automatic workflows. The possibilities are endless.
This is an example of the automations that can be set up using Zapier:
- When this happens: A new file gets uploaded to Google Drive
- Do this: Send an email through Gmail.
Sending BadgeOS data to Zapier lets you configure the trigger or the “When this happens…” part of the workflow, so that you can create automations like this one:
- When this happens: A user earns an achievement on the BadgeOS website.
- Do this: Create a spreadsheet row with the user data on Google Sheets
4. Set Triggers
Follow these steps to set up a new Zap with a webhook:
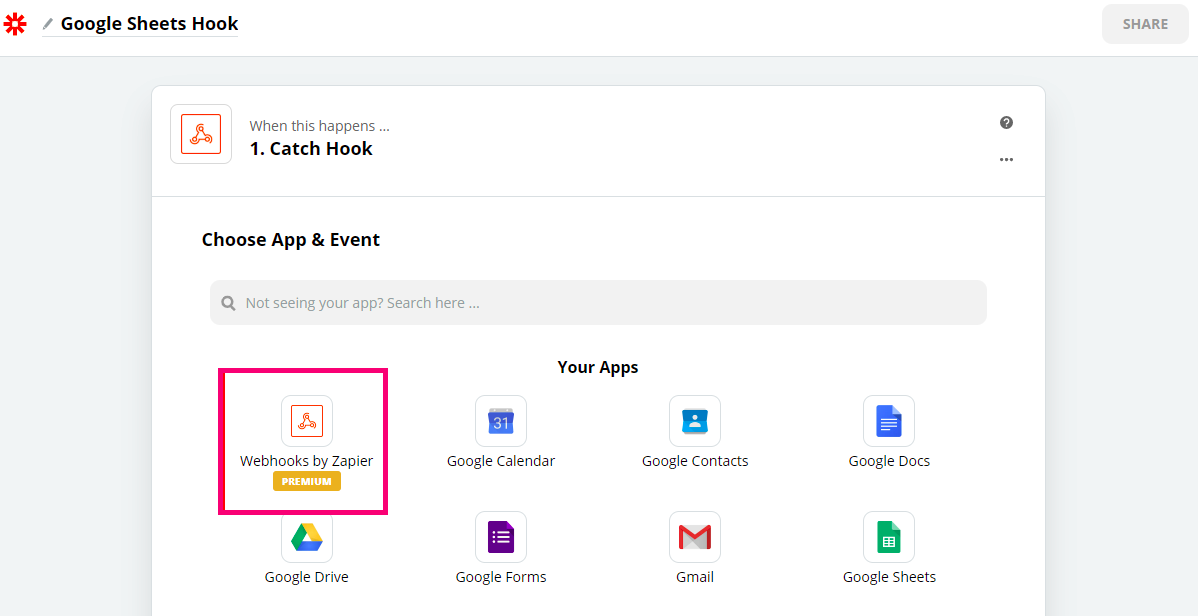
- Go to Zapier and create a new zap by clicking on the button.
- Find and click on the Webhooks by Zapier icon located in the Built-in Apps section.
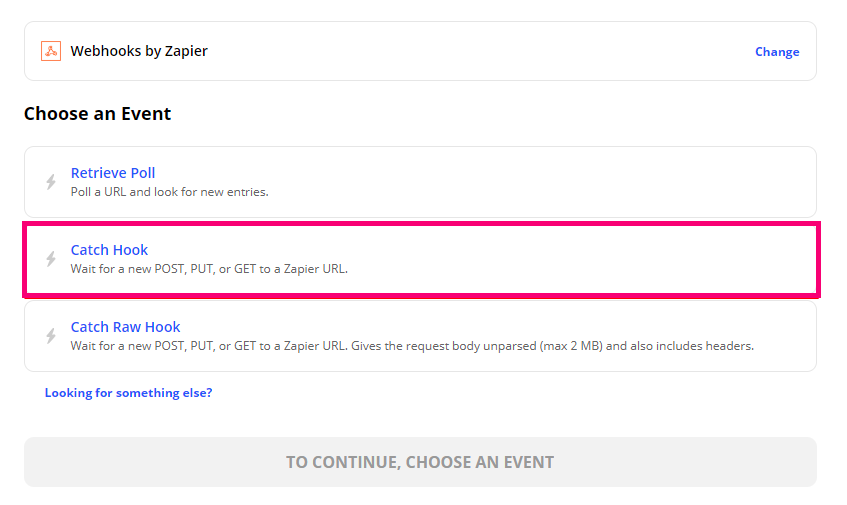
- Choose the “Catch Hook” option from the “Choose an Event” section. This lets Zapier know that it shouldwait for communications from the BadgeOS website and click Continue.
- Copy the Custom Webhook URL to your clipboard. Keep the Zapier window accessible and switch back to the WordPress Dashboard of the BadgeOS website in a different tab or a window.
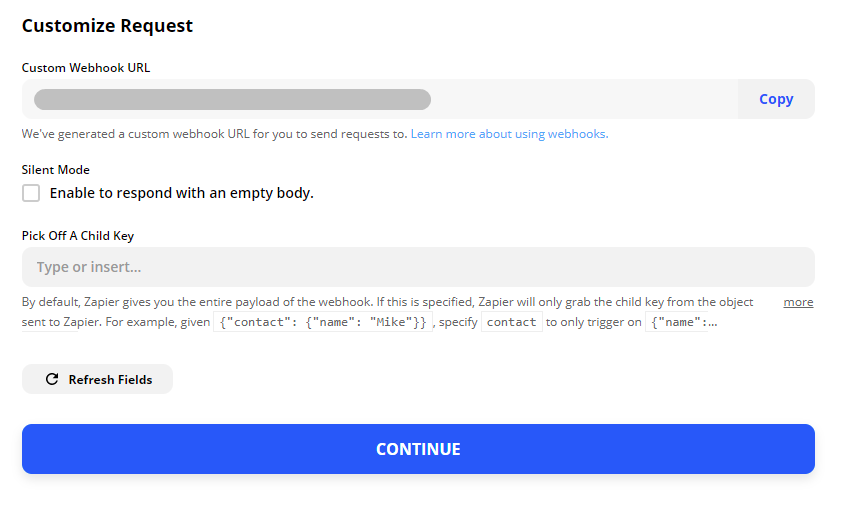
- Leave the “Silent Mode” and “Pick off a Child Key” options blank for now and click on the Continue button.
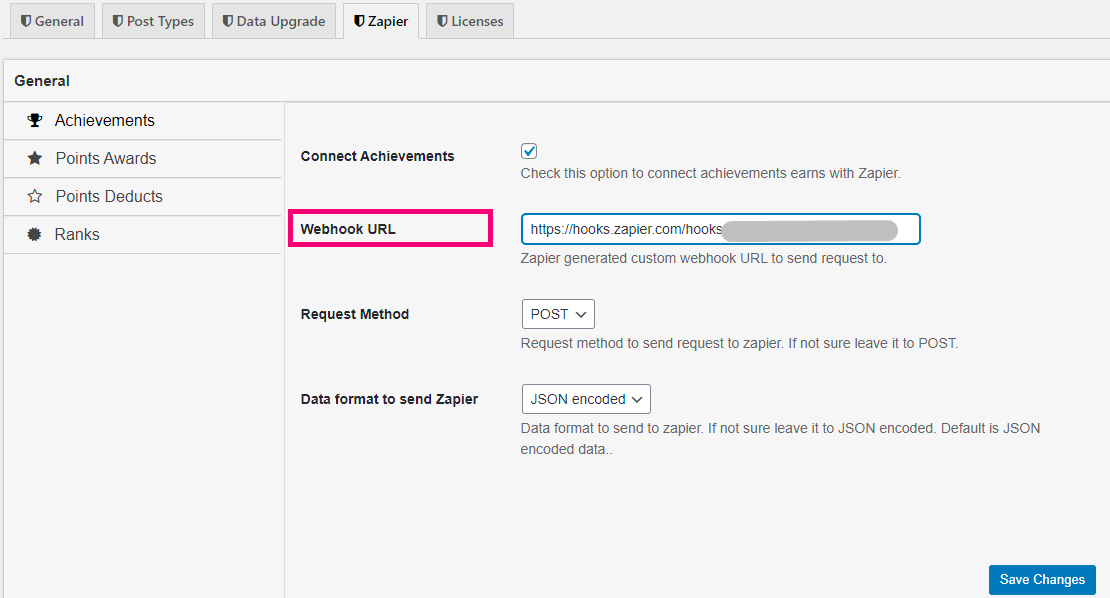
- From your WordPress Dashboard, navigate to BadgeOS > Settings > Zapier.
- Paste the Zapier Custom Webhook URL that you copied in the previous steps on the Webhook URL field.
- Leave the Request Method field as default (POST).
- Leave the Data format to send Zapier as default (JSON encoded)
- Click on the Save Settings button to store your configuration on WordPress.
- Go back to Zapier on the tab where you were editing your Zap and click on “Test Trigger”.
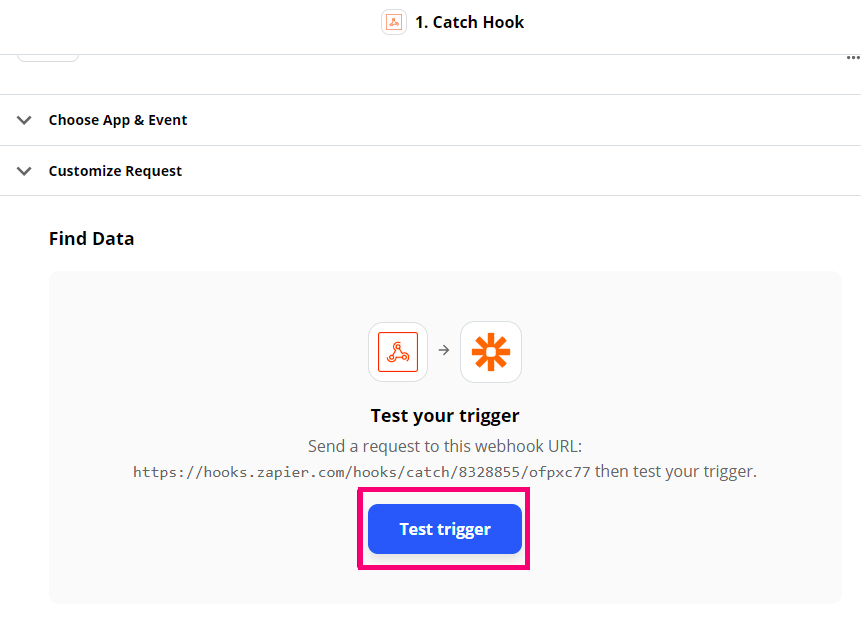
- Configure the remaining options and scroll down to configure the “Do this…” part of the Zap.
5. Set Actions
An excellent feature that Zapier includes is that you can connect trigger data to action.
The following steps show how using the “Send an email through Gmail” action can access the BadgeOS data like the user details and include the rank details.
- Select Gmail from “Your Apps” section
- Select “Send Email” from “Choose an Event” section
- Press “Continue”
- Sign in to your Google account
- Press Continue and customize the other options.
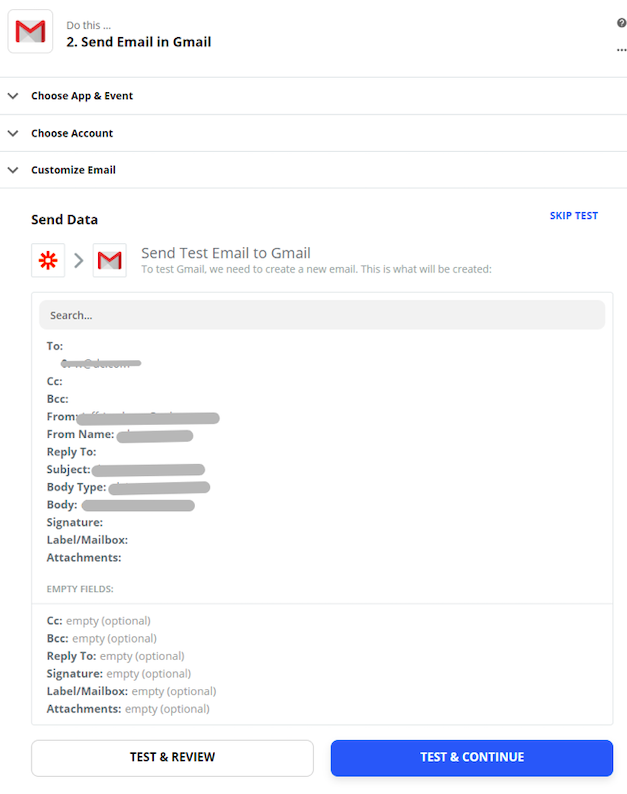
- Press Test & Continue.
- “Turn on Zap” on a successful Test.
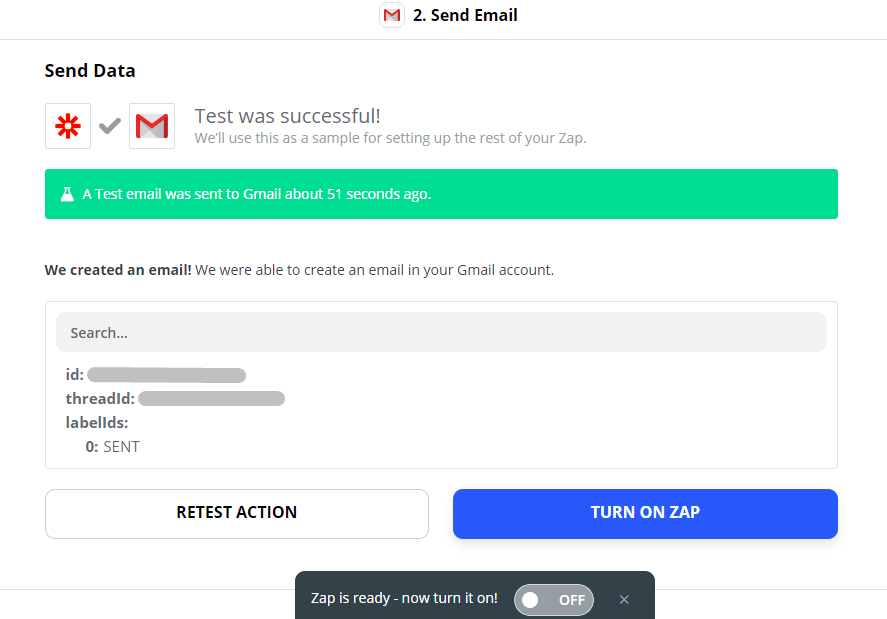
- You’ve successfully created a Zap.