This Add-on allows you to easily create, configure, and add leaderboards to your site. Leaderboards allow you to display your user’s points, ranks, and achievements for everyone to see. In this article, you’ll learn how to install the add-on and use the leaderboard features.
Table Of Contents
- Install the Leaderboard Add-on
- Activate the Add-on License
- Create A New Leaderboard
- Add Leaderboards Using Shortcode With The Classic Editor
- Add Leaderboards Using Blocks With The Blocks Editor
- Add A Leaderboard Widget
- Frequently Asked Questions
1. Install the Leaderboard Add-on
- Install and activate BadgeOS plugin
- Install and activate BadgeOS Leaderboard addon
- New Leaderboard sub-menu will be created in the BadgeOS menu
2. Activate the Add-on License
License key can be configured from BadgeOS > Settings > BadgeOS Add-on Licenses. Place your license key in the field and click on the Save Settings. License keys can be found in the email you received when you purchased the addon.
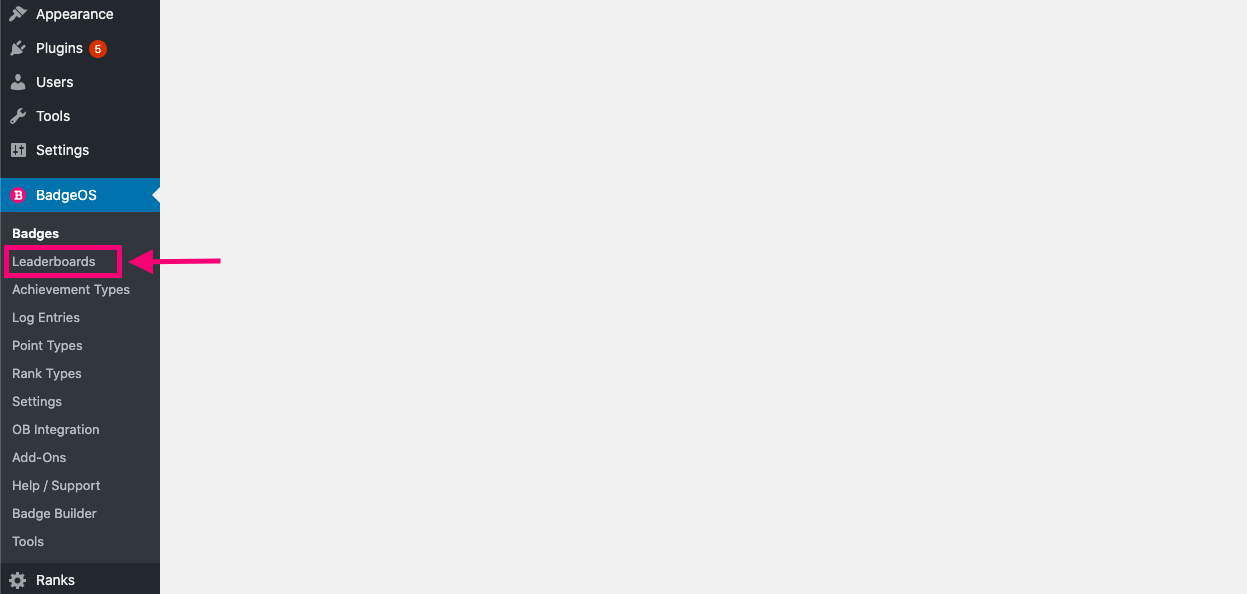
3. Create A New Leaderboard
Go to BadgeOS > Leaderboards and click on the Add New button to create new leaderboards. Following are the options to set up a leaderboard:
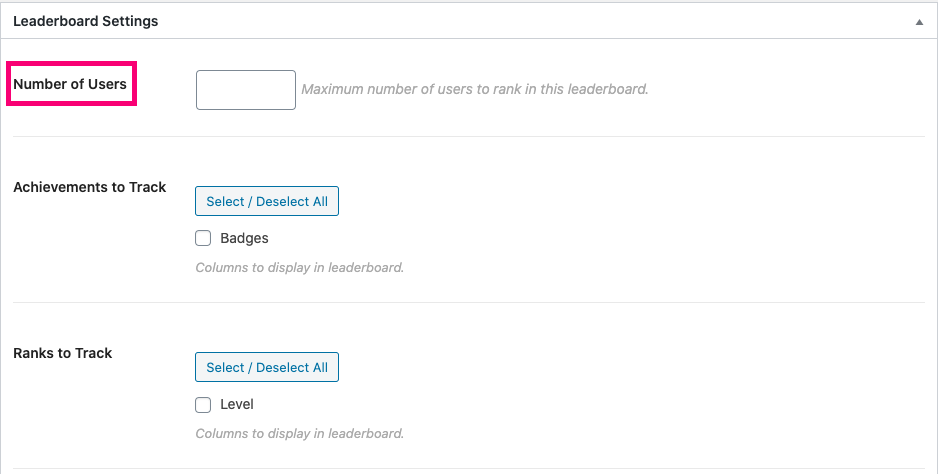
- Number of Users:
The leaderboard will list the selected number of users.
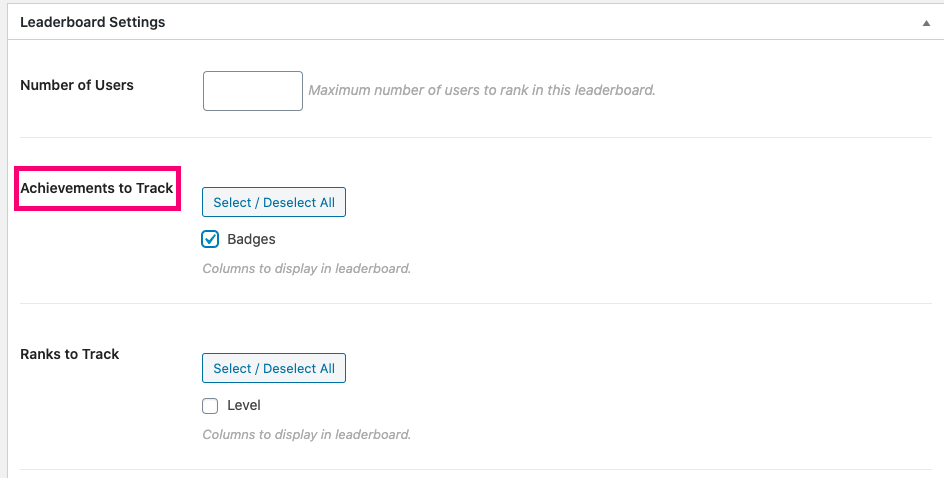
- Achievements to Track:
Select the achievement types to be displayed on the leaderboard.
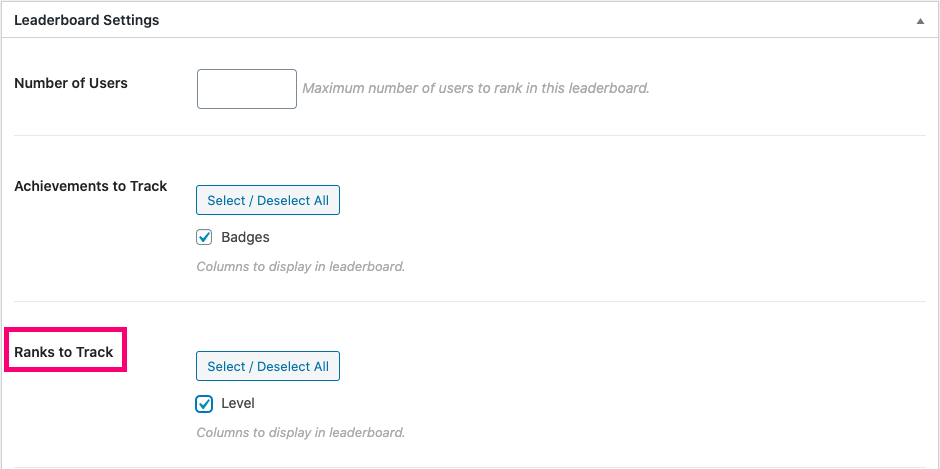
- Ranks to Track:
Select the rank types to be displayed on the leaderboard.
- Points to Track:
Select the points types to be displayed on the leaderboard.
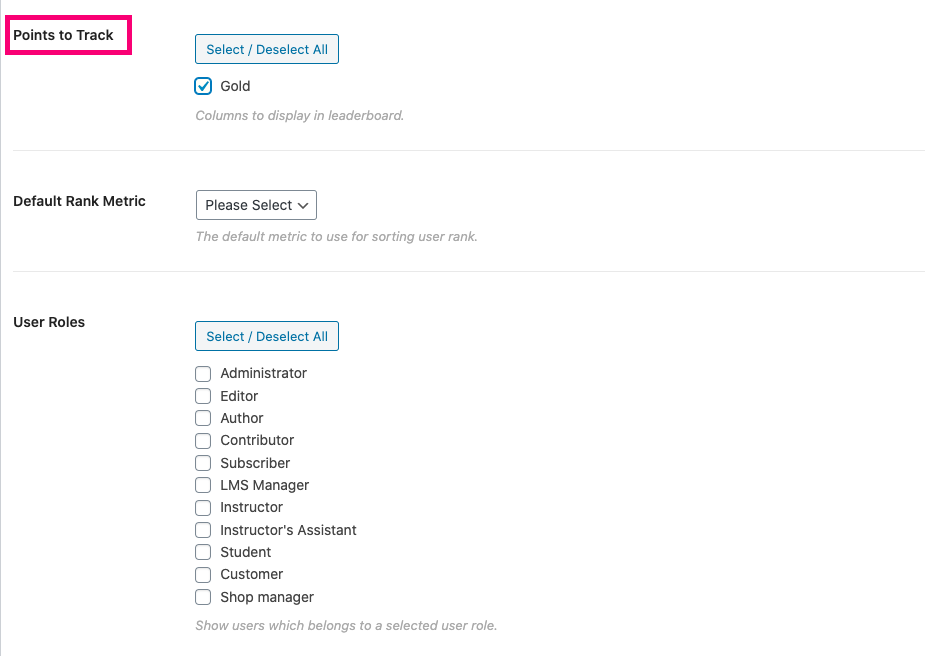
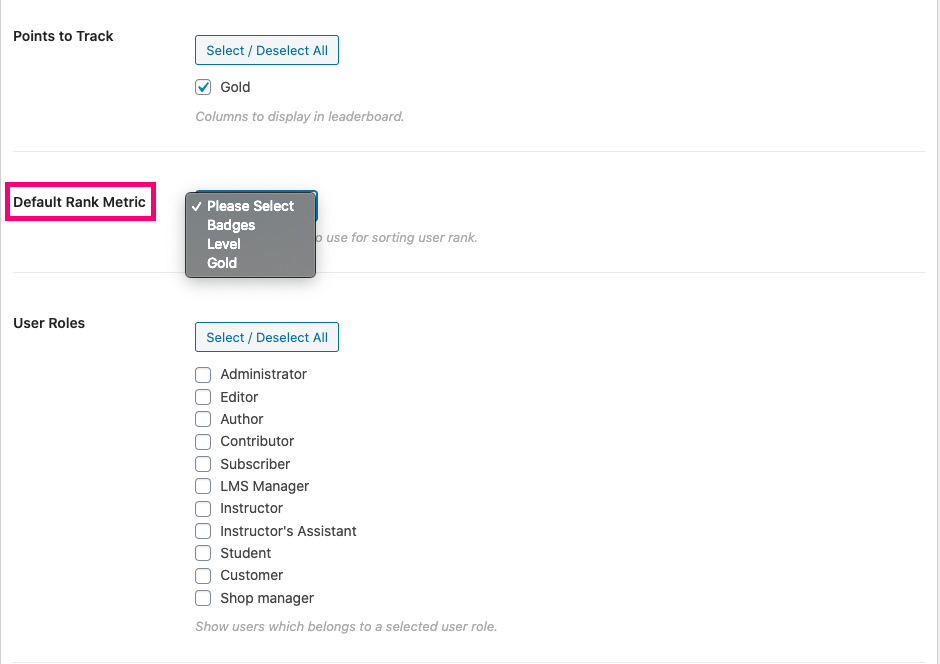
- Default Rank Metric:
This option will sort the leaderboard according to the selected Achievement types/point type/rank type.
- User Roles:
From this option, we can only list the selected and specific user roles on the leaderboard.
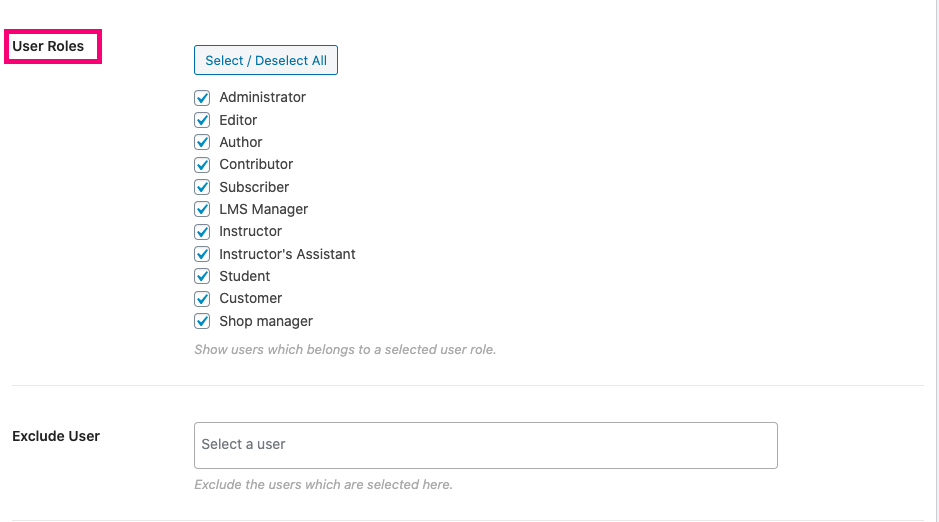
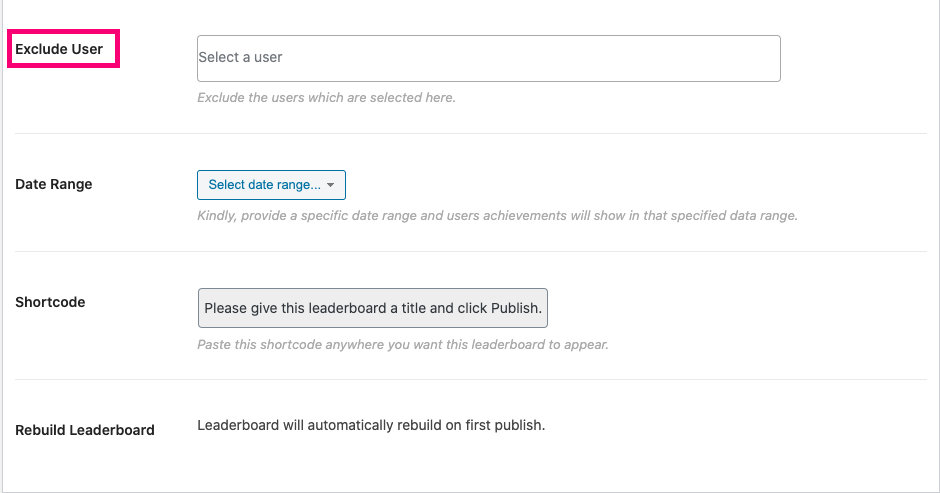
- Exclude User:
Excluded users will not appear on the leaderboard.
- Leaderboard Reset:
With this setting, you can create Leaderboards that Auto Reset their data according to the selected time frames. You can choose from the following options:
None: This option will be selected by default ‘None’. This means the leaderboard data will not reset automatically when the date is changed.
Every Day: When this option is selected, the leaderboard data resets automatically on a daily basis.
Every Week: To use this option, select the start date and end date from the Relative Date Range field. The leaderboard data automatically resets when there is a login from the member of the leaderboard the next week.
Take note that when using this option, the selected date range must start on a Monday and end on a Sunday. Otherwise, it will not work.
Every Month: When this option is selected, first select the start date and end date from the Relative Date Range field. The leaderboard data automatically resets when there is a login from the member of the leaderboard the next month.
- Relative Date Range:
By selecting this option, the Date Duration fields will be shown.
- Date Duration:
This option lets you select the date range from which your leaderboard will draw data from. The leaderboard gets auto refreshed and populates with new data after this date duration is completed.
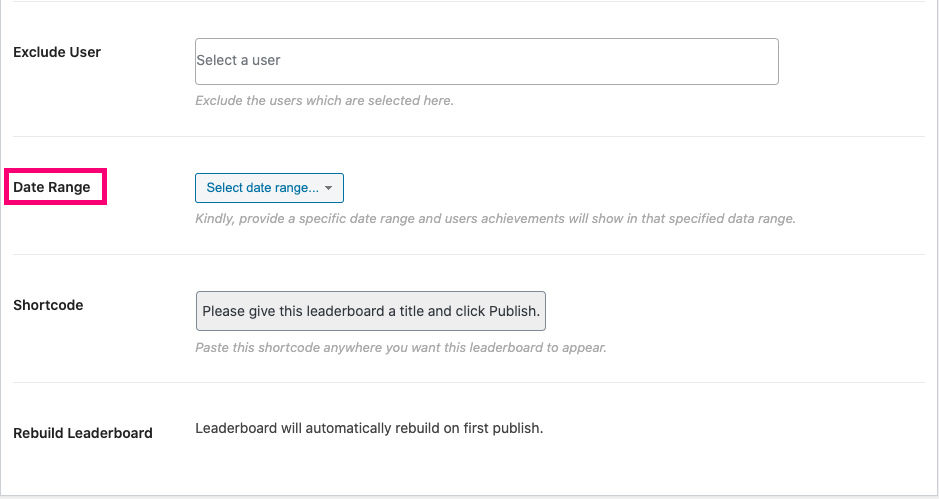
- Date Range:
The date can be selected and Users Achievements will be displayed that were earned between the selected dates.
- Show last earned rank:
Setting this option to yes will add a column that will display the last earned ranks for all the users.

- Shortcode:
This field creates the shortcode for the leaderboard to be used anywhere on the website, most likely in posts and pages.

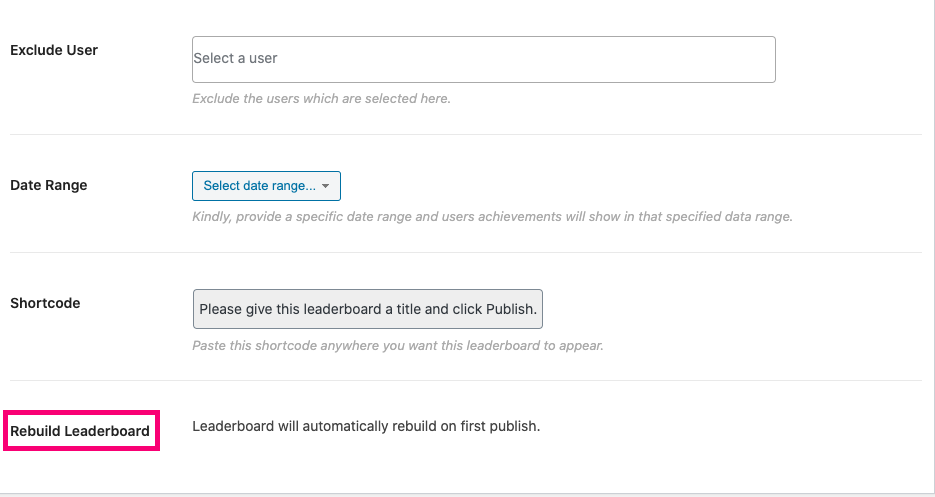
- Rebuild Leaderboard:
After making changes in the leaderboard settings, update the leaderboard and then click on the rebuild leaderboard to apply the changes in the leaderboard.
Note: Updates won’t work if the leaderboard is not rebuilt after making changes.
4. Add Leaderboards Using Shortcode With The Classic Editor
Using the available Leaderboard shortcode, you can readily display a leaderboard on any page.
- Navigate to the “Pages” from the WP Dashboard and select the page you want to edit.
- Add the shortcode in the desired location.
- Setup the rest of the page according to your needs.
- Publish/Update.
5. Add Leaderboards Using Blocks With The Blocks Editor
When a leaderboard is created, it can be readily displayed on any page using blocks.
- Navigate to the “Pages” from the WP Dashboard and select the page you want to edit.
- Click on the “+” button and scroll to the section that says “BadgeOS Blocks.”
- Find and select the “LeaderBoard – Block.”
- Choose the leaderboard you want to display from the options on the left.
- Next, configure display options for the leaderboard. These include the limit of users shown, whether you want to display a title and user avatars and if you want to include links to user profiles.
- Set up the rest of the page according to your needs.
- Publish/Update.
6. Add A Leaderboard Widget
The leaderboard widget is also available in the BadgeOS leaderboard addon to place the leaderboard in any widget area.
To add a Leaderboard in a Widget area follow these steps:
- Navigate to Appearance and click on Widgets.
- Find the Leaderboard Widget from the Available Widget section located on the right.
- Drag and drop the widget onto the selected Widget area.
7. Frequently Asked Questions
- The leaderboard is not showing on the front-end.
Make sure to click on the rebuild leaderboard button at the bottom of the leaderboard settings.
- Leaderboard updated but changing is not showing on the front-end.
Make sure to rebuild the leaderboard after making changes and updating the leaderboard.
- How to list only subscribers on the leaderboard?
Check the subscriber’s checkbox from the User Roles section
- How to exclude only a specific user-role?
Check all the user roles and leave or uncheck the user role you want to exclude from the leaderboard