BadgeOS Badge Builder allows you to create professional-looking badges for different BadgeOS achievement or achievement types. In this article, you will learn how to use the badge builder to easily design custom badge images.
Table Of Contents
- Install the BadgeOS Badge Builder Add-on
- Configure General Settings
- Design A Badge
- Frequently Asked Questions
1. Install the BadgeOS Badge Builder Add-on
- Install and activate the BadgeOS plugin.
- Install and activate the BadgeOS Badge Builder add-on.
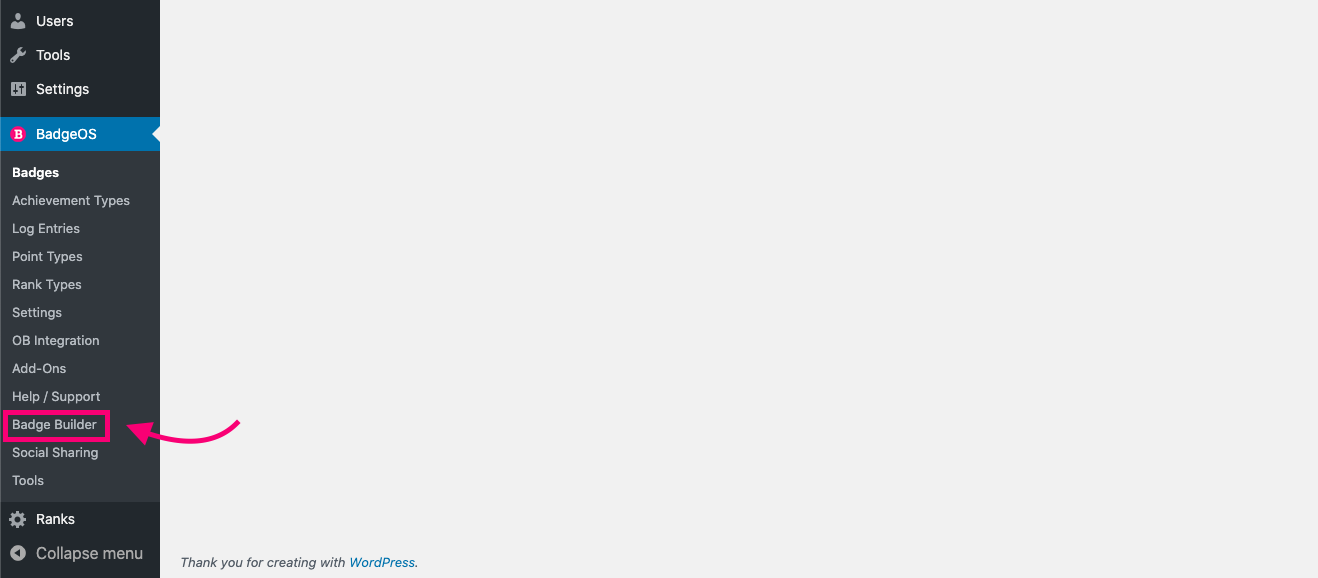
- After activating the add-on you will see the new Badge Builder menu item added under the BadgeOS main menu.
2. Configure General Settings
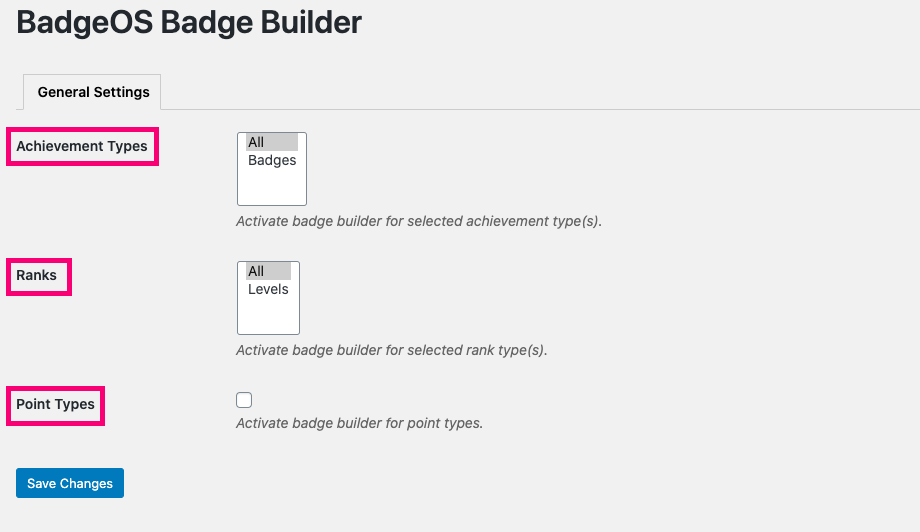
Navigate to the Badge Builder menu under the BadgeOS main menu. All the settings related to the badge builder will be displayed.
- Go to the Allow Achievement Types field to determine for which achievement types to enable the Badge Builder. Select which achievement type(s) can use the BadgeOS Badge Builder from the dropdown menu. By default, the Badge Builder is enabled for “All”.
- Go to the Allow Rank Types field to determine which rank types to enable the Badge Builder for. Select which rank type(s) can use the BadgeOS Badge Builder from the dropdown menu. By default, the Badge Builder is enabled for “All”.
- Enable Point Types if you want to activate the badge builder for point types.
3. Design A Badge
The Badge Builder’s interface is divided into the following three sections:
- Header: In the header section, you will see two buttons to save badge as a draft or set as featured image
- Toolbar: The toolbar provides you the options to customize each badge element and change the look and feel of it, like changing badge text, text color, background color, badge shape all these and many other options will be displayed here based on the element you have selected.
- Canvas: Canvas provides you the instant preview of your badge so you can see how the final badge looks like.
To design a badge, first launch the Badge Builder.
- Go to any achievement’s edit page and click on the “Use BadgeOS Badge Builder” link, located under the Featured Image meta-box.

- A pop-up window will appear with the BadgeOS Badge Builder.

- Select the badge background to see color options displayed in the toolbar. You can set the background of the badge to any color.
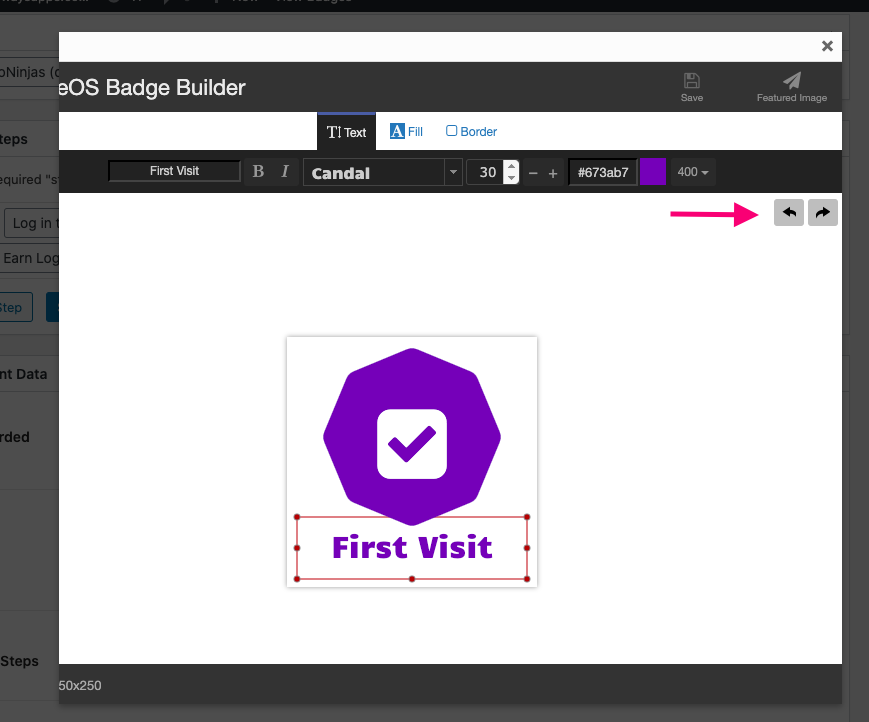
- Select the badge text. The Badge Builder will provide you text-related options in the toolbar above to change text, color, size, etc.
- Select the badge’s shape to see shape-related options displayed on the toolbar. You can select from multiple predefined shapes for a custom look.
- Select the badge icon to see the different badge icons that can be added to a badge. In the toolbar, you can customize the icon’s color and size.
- You can also use the undo or redo buttons located on the upper right corner of the screen to reverse any mistakes during editing.
BadgeOS Badge Builder FAQs
Can I reuse the created badge?
Yes, you can reuse the created badge. You have to navigate to the new achievement edit page > featured image meta-box > Set achievement image. Simply select the desired badge from the media library.
BadgeOS Badge Builder option is not showing at the featured image meta-box.
Please make sure that you have selected the desired achievement type from WP Dashboard > BadgeOS > Badge Builder > General Settings.
We suggest you please select the All option for Achievement Types field.
In which image format, the badges will be created by using BadgeOS Badge Builder?
BadgeOS Badge Builder add-on supported .png format only.
Want to use a specific badge for all the achievement under the specific achievement type.
All you have to do is, create the badge by using BadgeOS Badge Builder add-on from WP Dashboard > BadgeOS > Achievement types > Open the desired achievement type edit page or click Add New > featured image meta-box > Use BadgeOS Badge Builder.
Create the badge, click save and set the featured image. Fill all the fields for achievement type. Publish/update.
Now all the achievement under that achievement type will have the same badge if you will publish/update that achievement without select any badge.